


DIY Halloween Jack-o'-Lantern Shirt
Turn an everyday T-shirt or sweatshirt into something spook-tacular with NECCHI’s free printable jack-o’-lantern templates!
Halloween is the perfect excuse to get creative with your sewing machine! With just a little fabric, a few simple stitches, and your imagination, you can transform a plain T-shirt or sweatshirt into a one-of-a-kind Halloween favorite.

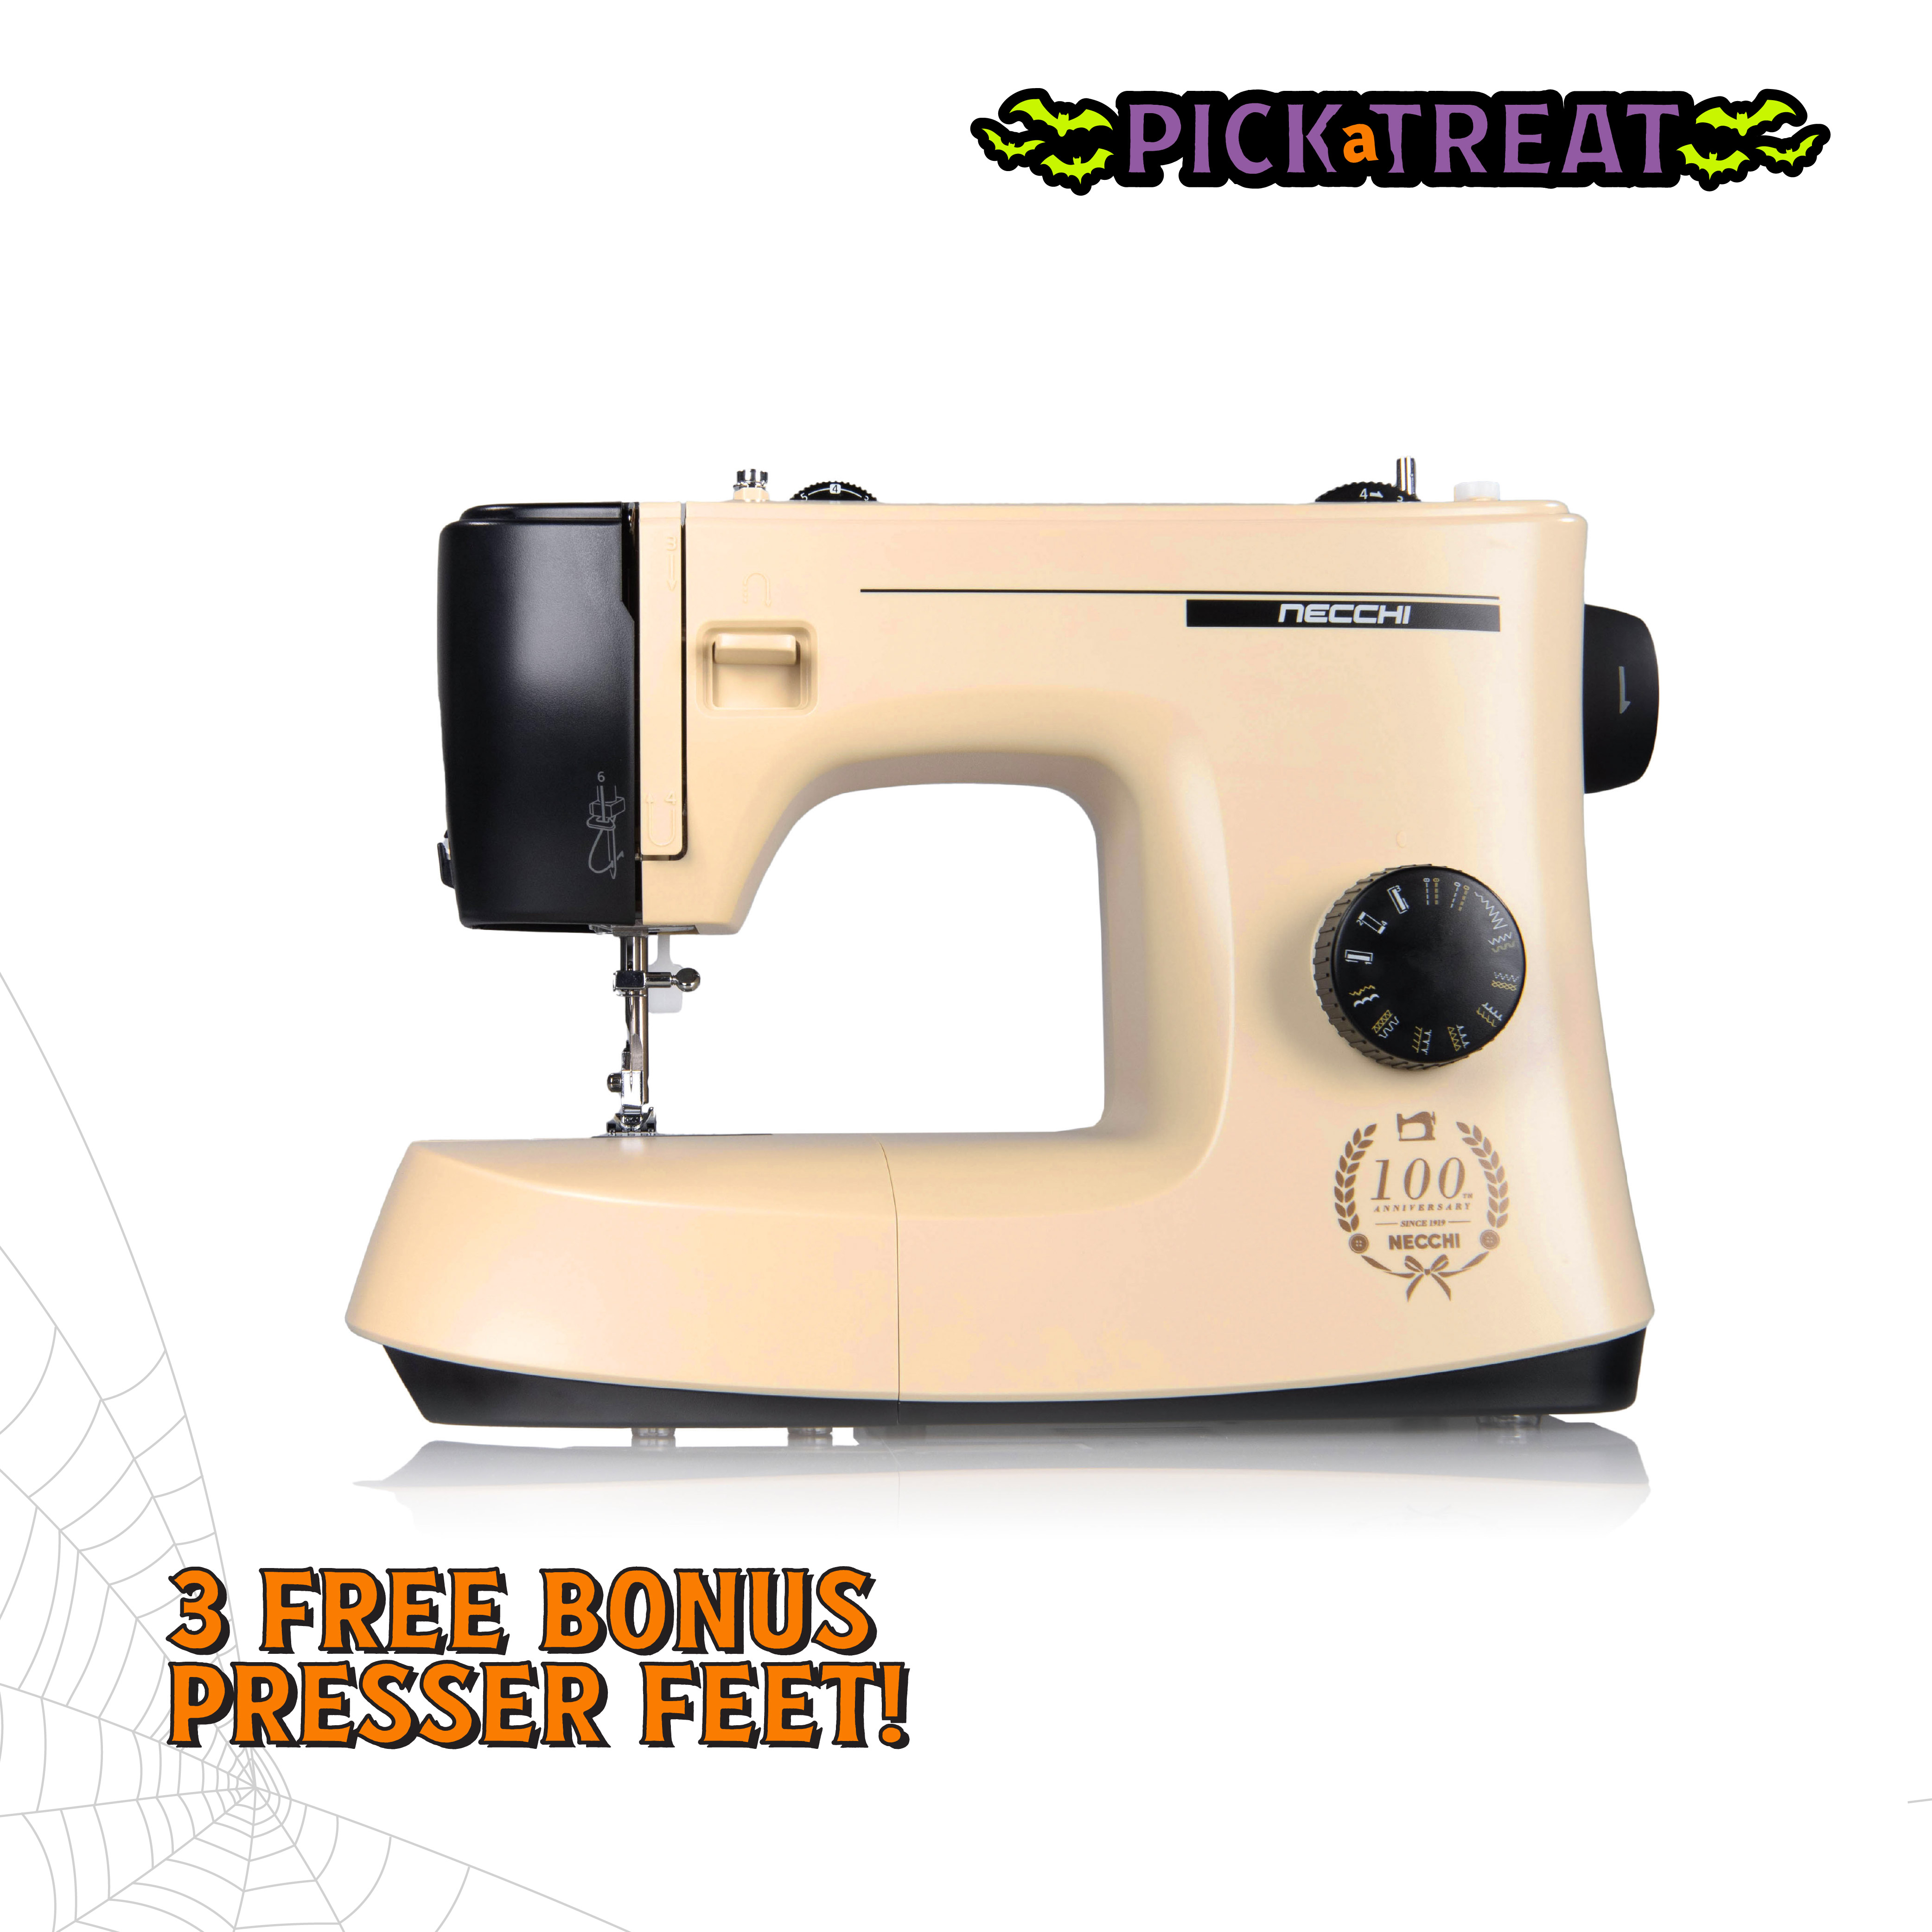
For this project, we’re sewing with the NECCHI KM417A, also known as the New Mirella. Inspired by NECCHI’s beloved Mirella from the 1950s, this modern take on a classic brings vintage charm to today’s sewing room. Its adjustable zigzag stitch makes it a great choice for appliqué, allowing you to create a decorative finish around each piece of your design.
And we’re making it even easier to get started with our FREE printable jack-o’-lantern face templates! Choose from three different expressions, mix and match the features, or draw a face of your own.
Don’t stop at T-shirts! These templates are also perfect for dressing up thrifted sweatshirts, creating Halloween tote bags, decorating pillow covers, or adding a playful pumpkin face to just about any fabric project.
Ready to make something wickedly creative? Complete the form below to get our FREE Jack-o'-lantern face templates!

What You’ll Need
- A plain T-shirt or sweatshirt
- Fabric of your choice for the jack-o’-lantern face
- Fusible web, such as Wonder-Under, or an appliqué adhesive such as Appli-Kay Wonder from Floriani
- Marker or pen for tracing
- NECCHI’s free printable jack-o’-lantern face templates | Complete the form above to instantly get our printable template!
- Fabric scissors
- Iron and ironing surface
- Sewing machine and coordinating thread
- Open-toe presser foot (optional, but recommended)
Let’s Make a Jack-o’-Lantern Shirt!
Step 1: Print Your Templates
Download and print NECCHI’s free jack-o’-lantern face templates. Be sure to select Actual Size or 100% Scale in your printer settings.
Choose your favorite face, mix and match the features, or use the templates as inspiration to create your own expression!

Step 2: Trace Your Design
Place your template beneath the fusible web and trace each piece onto the paper side.
Tip: If your design has directional details, remember that tracing onto the back of fusible web can reverse the finished shape.

Step 3: Roughly Cut Out Your Pieces
Cut around each traced shape, leaving a little extra space around the edges.
There’s no need to cut everything perfectly just yet. We’ll do that after attaching the fusible web to our fabric.

Step 4: Attach the Fusible Web
Following the manufacturer’s instructions, iron the fusible web onto the wrong side of your chosen fabric.
Once cooled, carefully cut along your traced lines to create each jack-o’-lantern face piece.
Step 5: Prepare Your Shirt
Lay your T-shirt or sweatshirt flat and give it a quick press to remove any wrinkles or creases.
Arrange your jack-o’-lantern eyes, nose, and mouth on the front of your shirt until you’re happy with the placement.
Want a silly pumpkin? A spooky one? Something completely different? This is where you can make the design your own!

Step 6: Secure Your Appliqué
Peel away the paper backing from each piece of fusible web and position the fabric shapes on your shirt.
Press according to the fusible web manufacturer’s instructions to secure the appliqué in place.
If you’re using a repositionable appliqué adhesive instead, follow the instructions for that product.

Step 7: Set Up Your NECCHI
Now for the fun part, let’s sew!
For this project, I’m using the NECCHI KM417A, the New Mirella. This machine is a modern reimagining of NECCHI’s classic Mirella, combining a nostalgic design with practical features for everyday sewing.

One of my favorite features for this project is its adjustable zigzag stitch. By shortening the stitch length, we can create a closely spaced zigzag that gives our appliqué a beautiful, satin-like finish.

I’ve also paired my KM417A with NECCHI’s Open Toe Presser Foot. The open front provides a clear view of the needle and stitching area, making it easier to follow the edges of each appliqué piece, especially around those little pumpkin eyes and corners!

My stitch settings:
- Stitch: Zigzag
- Stitch width: Widest zigzag setting
- Stitch length: Approximately 0.5
These settings worked well for my project, but I recommend testing your stitch on a scrap of fabric first and adjusting as needed.
Step 8: Stitch Your Jack-o’-Lantern Face
Before you begin, make sure you’ve separated the front and back of your shirt so you’re stitching through only the front layer. We definitely don’t want to accidentally sew our shirt closed!
Position your appliqué so the right swing of your zigzag stitch lands just outside the fabric edge, while the left swing catches the appliqué fabric.

Slowly stitch around the edges of each jack-o’-lantern face piece, keeping your stitches evenly positioned along the fabric.
I especially love being able to lower the needle into the fabric on the KM417A when it’s time to pivot around curves and corners. It makes navigating those little details much easier!
Take your time, especially around the smaller facial features. There’s no rush when you’re making something this cute!
Step 9: Finish & Enjoy!
Once you’ve stitched around every appliqué piece, trim away any loose thread tails and remove your stabilizer according to its instructions.
And just like that, you’ve transformed an ordinary shirt into a handmade Halloween favorite!

One Template, So Many Possibilities!
The best part about this project is how easy it is to make it your own.
Try creating a matching set of Halloween shirts for the family, giving a thrifted sweatshirt a festive makeover, or adding a playful pumpkin face to a tote bag for trick-or-treating.
You could even use the same templates to make a jack-o’-lantern pillow cover for your Halloween décor!
However you choose to use them, we hope these free templates inspire you to create something fun this spooky season.
Don’t forget to share your finished projects with us! Tag @Necchi.US on social media so we can see your handmade Halloween creations.
🎃 Pick-a-Treat: Time’s Running Out!
A little vintage charm. A whole lot of Halloween creativity.
Ready to bring the New Mirella into your sewing room?
During NECCHI’s Pick-a-Treat Sale, you can bring home the KM417A for just $249, plus receive 3 FREE bonus presser feet, including the Open Toe Foot featured in this project!
Looking for even more ways to create? Select qualifying NECCHI sewing machines are also available with your choice of a FREE 3-piece specialty presser foot bundle: Creative Details or Specialty Fabrics.
Don’t let these treats disappear! Shop before October 31 and make this Halloween a handmade one with NECCHI.
SHOP THE NEW MIRELLAShare


