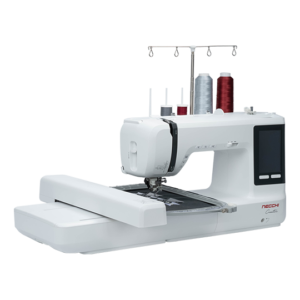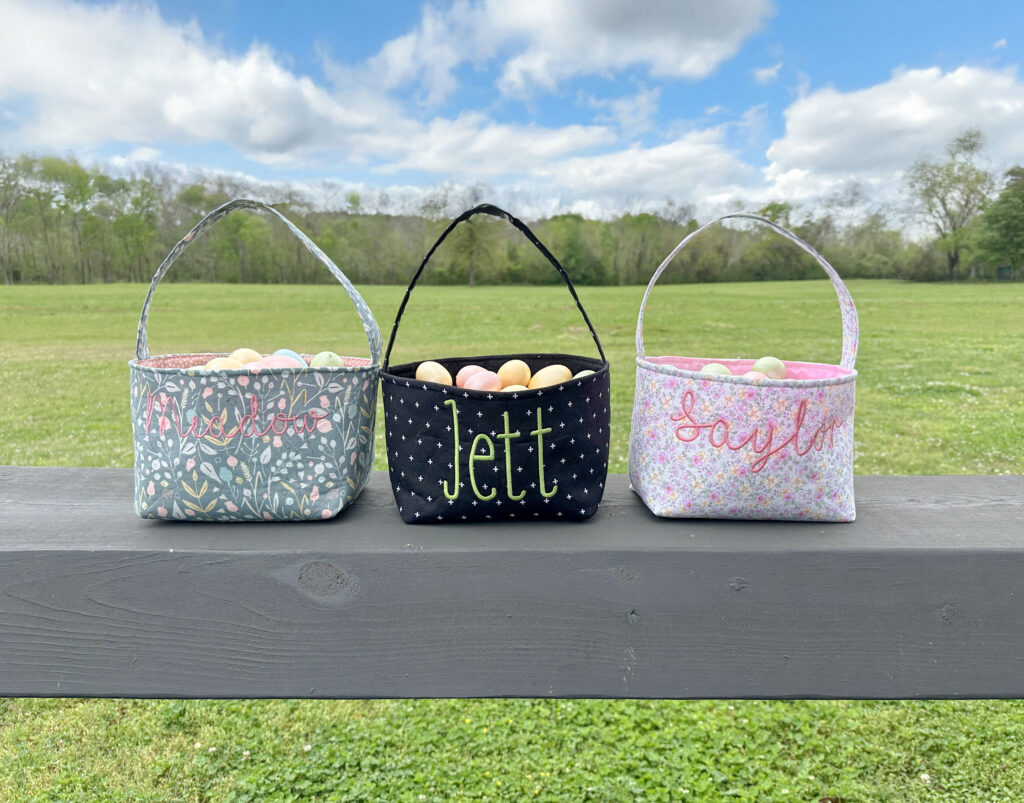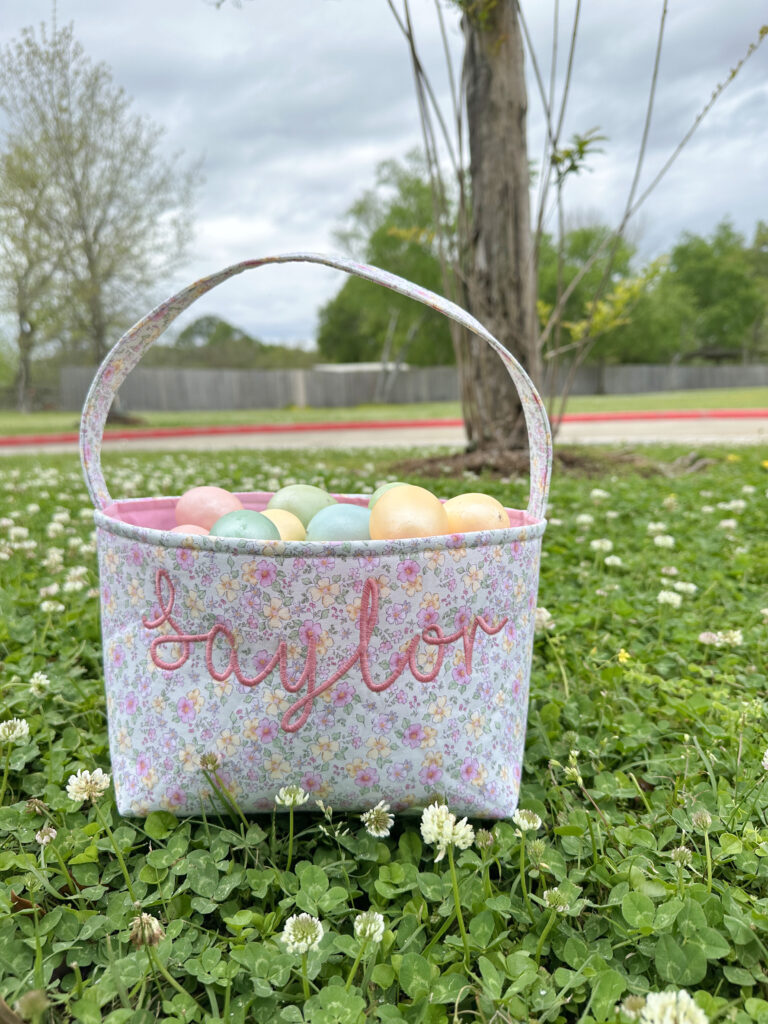
Spring is in the air, and what better way to celebrate Easter than by creating a personalized fabric Easter basket with your Necchi C2000 embroidery and sewing machine? This easy-to-follow project is perfect for beginners or experienced sewists. With the C2000’s advanced embroidery features, customizable placement tools, and seamless USB or Wi-Fi file transfers, you can add a name, monogram, or festive design to make your basket truly one-of-a-kind.
Follow this free step-by-step tutorial to sew your own basket!
Finished Size: 9” x 6” x 6”
Materials Needed:
✔️ Cotton fabric for the outside and strap (fat quarter friendly!)
✔️ Cotton fabric for the lining (also fat quarter friendly!)
✔️ Fusible fleece (1/2 yard)
✔️ Thread
✔️ Iron
✔️ Pins or sewing clips
Step 1: Cut & Prep
Cut the following pieces:
- (1) 13.5” x 18” piece from your outer fabric
- (1) 13.5” x 18” piece from your lining fabric
- (1) 13.5” x 18” piece of fusible fleece
- (1) 4” x 18” strip from your outer fabric (for the strap)
- (1) 2” x 18” piece of fusible fleece (for strap support)
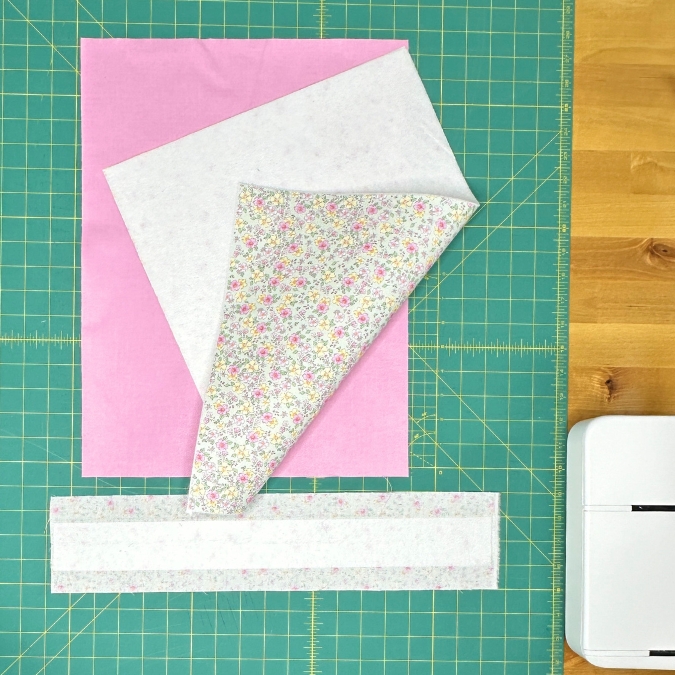
Adhere the fusible fleece to the outer fabric and strap piece using an iron.
Step 2: Add a Personalized Embroidery Design with the NECCHI C2000
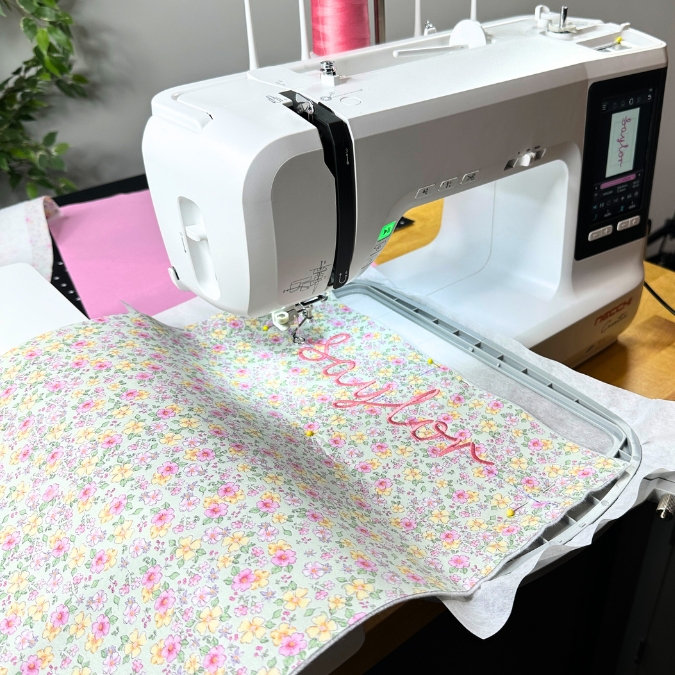
Marking Your Fabric for Embroidery
Before hooping your fabric, you’ll need to mark the placement for your embroidery design:
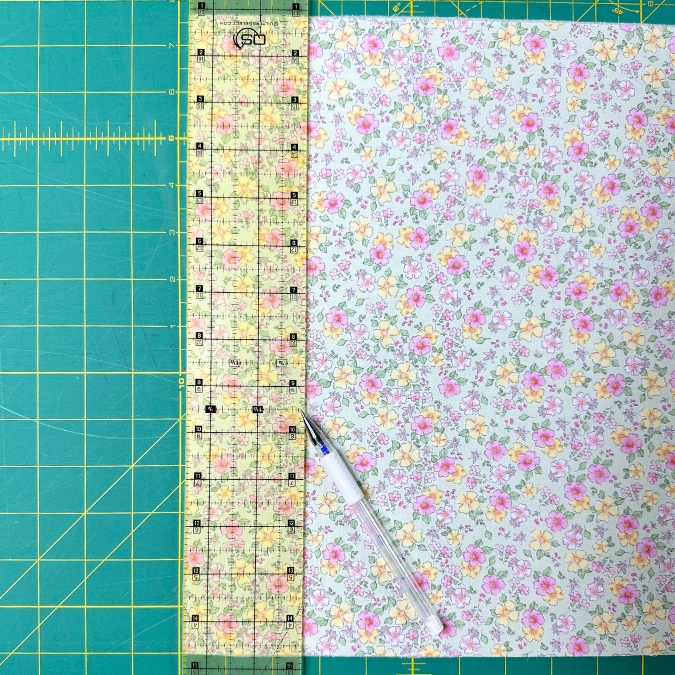
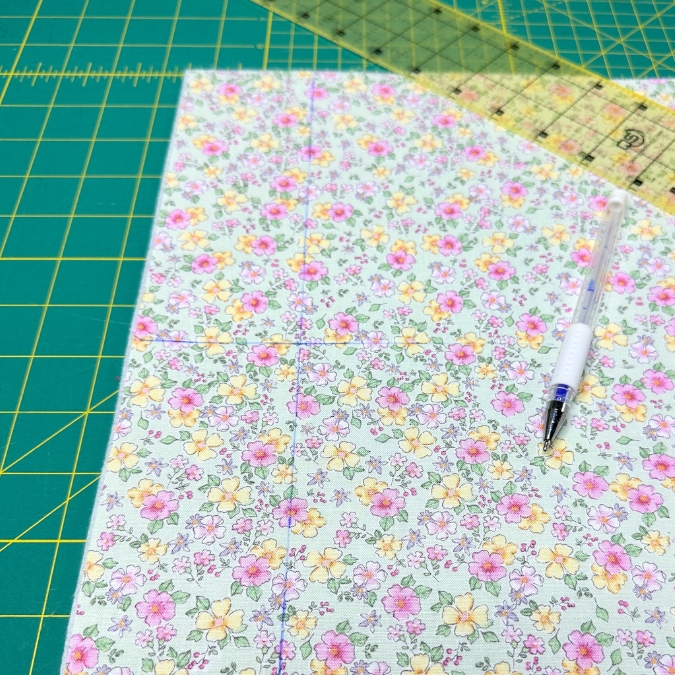
- Measure 2.5” down from the top edge of your outer fabric and draw a horizontal guideline.
- Find the center of the fabric’s width and mark it—this will be your embroidery design’s center point.
**If your design has text (such as a name or monogram), ensure the center of the letters align with your 2.5” horizontal mark.
Hooping Your Fabric & Stabilizer
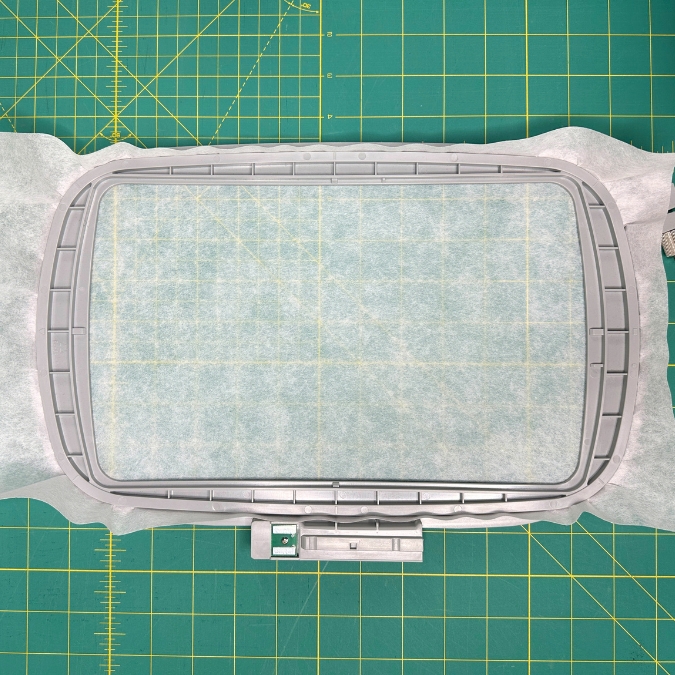
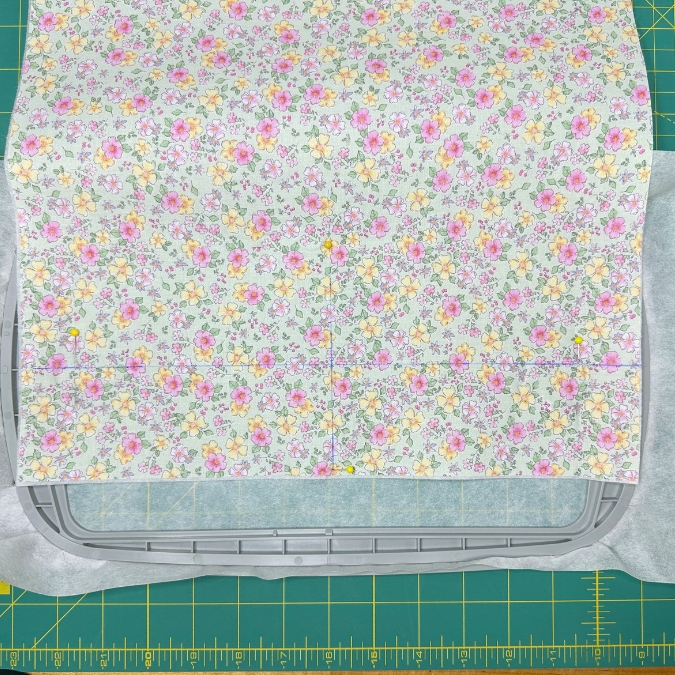
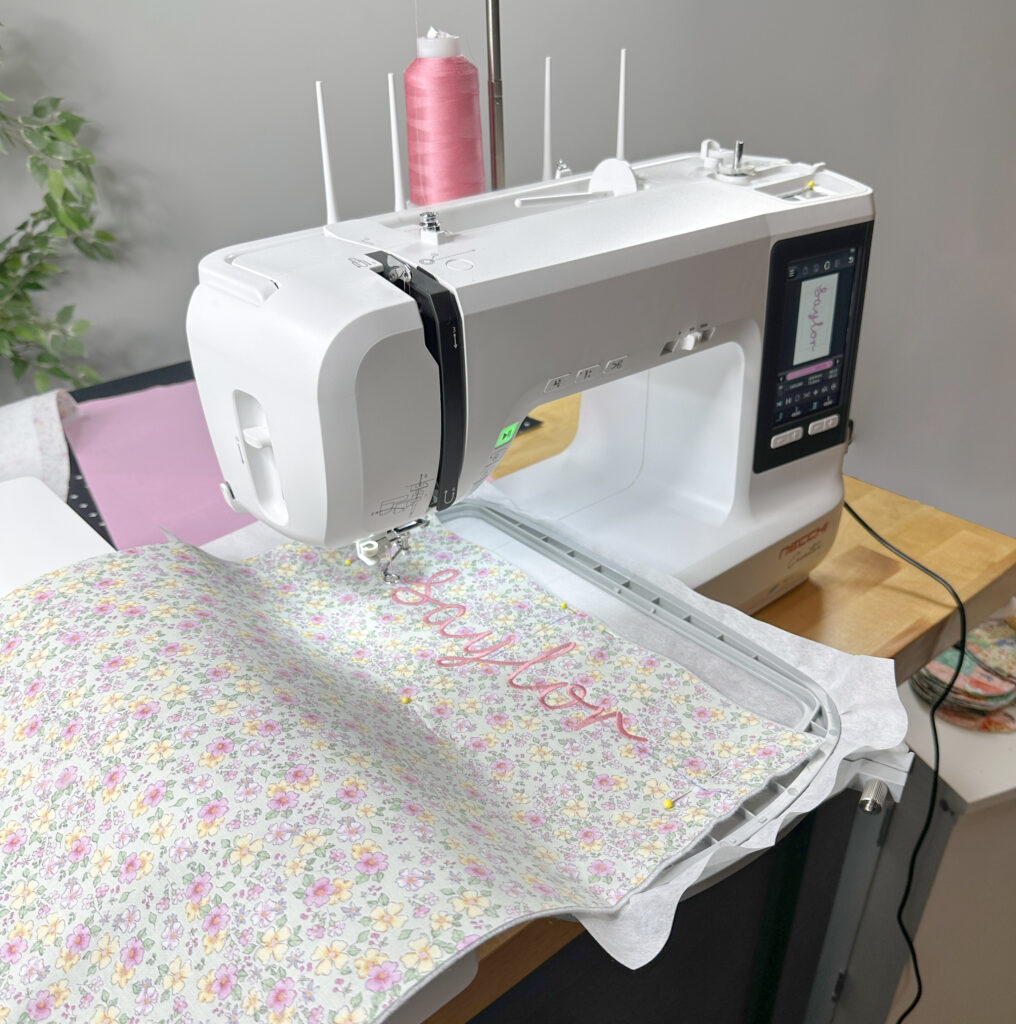
- Use one layer of tear-away stabilizer and hoop it in your 160mm x 260mm large embroidery hoop.
- Use temporary spray adhesive or pins to secure your marked fabric onto the stabilizer, ensuring your center marks align with the hoop’s center.
- Check the hoop tension – fabric should be taut but not stretched to prevent distortion.
Importing Your Embroidery Design
The Necchi C2000 offers multiple ways to transfer embroidery designs, making it incredibly user-friendly.
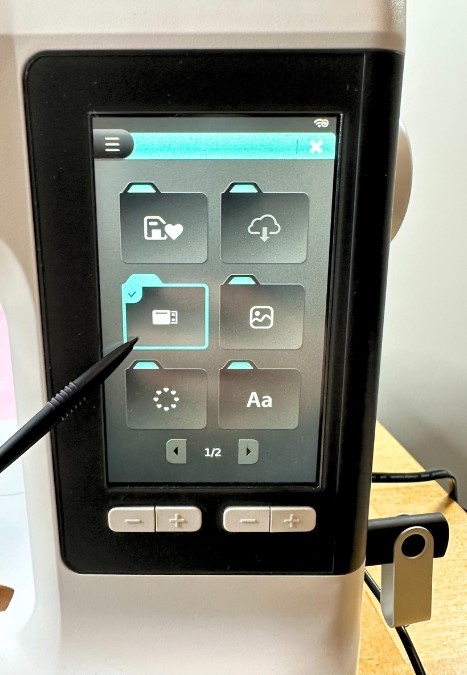 Three easy ways to import your design:
✅Wi-Fi Transfer with ArtistTool Kit – Use the built-in Wi-Fi to send embroidery designs directly to your machine from a computer or mobile device.
✅ USB Upload – Plug in a USB drive and select your file on the touchscreen.
✅ Preloaded Designs – Choose from a selection of built-in embroidery patterns.
The Necchi C2000 and C1200 support multiple embroidery file types, including:
DST, PES, HUS, JEF, EXP, PEC, VP3, VIP, XXX, PCS, SEW, ZHX and ZHS
If you’re using the included ArtistTool Kit software, you can create custom designs, monograms, or text and transfer them directly to your machine—no additional software needed!
Using the C2000’s Embroidery Placement Tools
Once your design is imported, you’ll use the C2000’s advanced touchscreen placement tools to ensure perfect alignment.


Rotate & Adjust: Rotate your design by single degrees or in 15-degree increments to achieve the perfect angle.


Check Design Placement Before Stitching:
- Use the “Trace” function to preview the outer corners and center point of your embroidery area.
- Manually drag the design on the screen with the included stylus or use the (-/+) buttons to make small, precise adjustments.


Change Thread Colors:
- Select or search for Pantone color numbers to match your thread exactly.
- Switch between different thread brand palettes to find the best match.


Once your design is properly placed, select “Next” to save the layout and press the start button to begin stitching!


After embroidery is complete, remove the fabric from the hoop and tear away excess stabilizer. Now you’re ready to assemble your basket!
Step 3: Assemble the Easter Basket
Prepare Your Basket Body:

1. Fold the outer fabric in half, aligning the short edges.
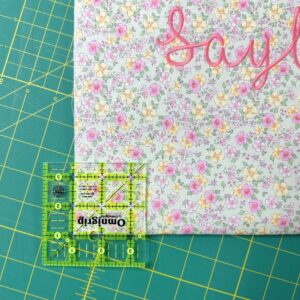
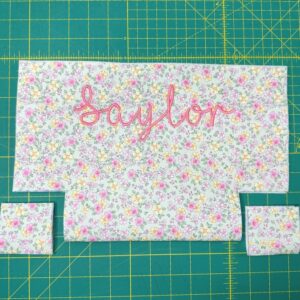
2. Cut a 2.5” square from both bottom corners.
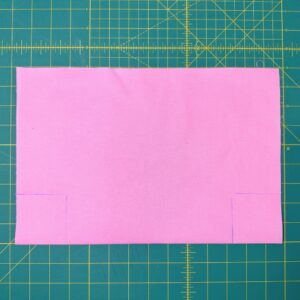
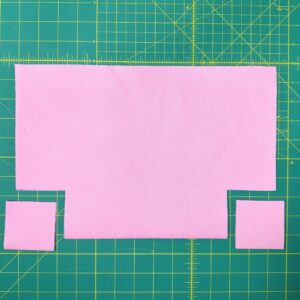
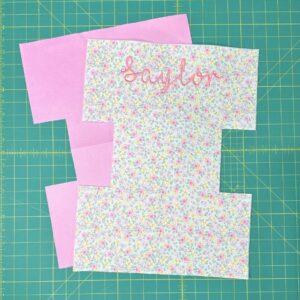
3. Repeat for the lining fabric to create two matching basket body pieces.
Sew the Basket Body:

1. Sew the side seams of the outer fabric with right sides together, leaving the cut-out corners open.
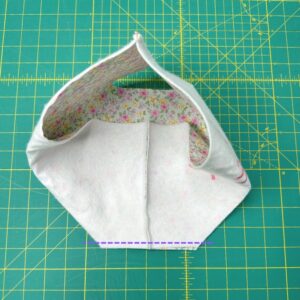
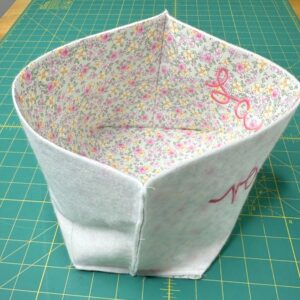
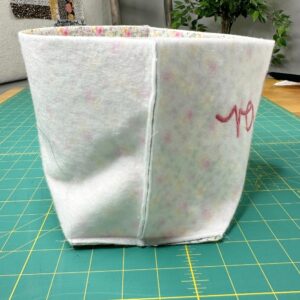
2. Box the corners by pinching them flat, aligning the side seams with the center bottom, and stitching across.
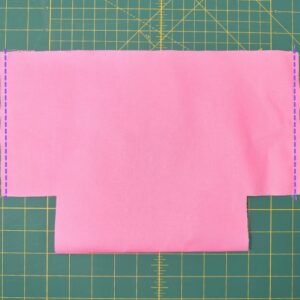
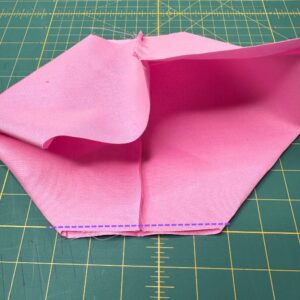
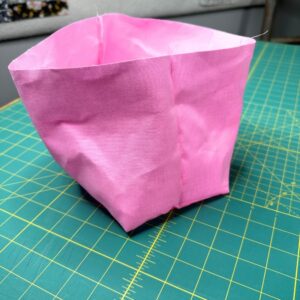
3. Repeat 1-2 with your lining piece.
4. Turn your lining right sides out when completed.
Make the Basket Strap:
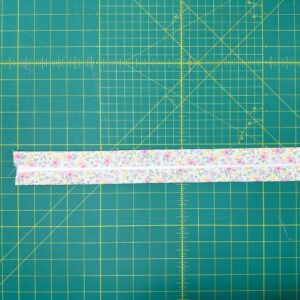
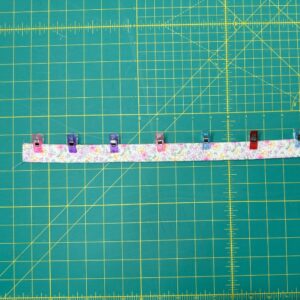
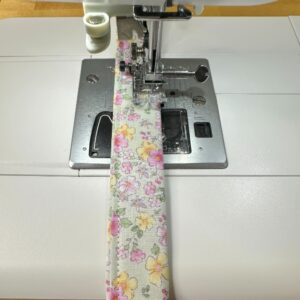
- Press the raw edges inward
- Fold the strip in half lengthwise
- Topstitch along both sides
*Don’t worry about the raw ends, they will be hidden inside the basket once contruction is complete!
Attach the Strap & Assemble the Basket:


- Position the strap inside the outer basket, aligning it with the side seams, with about 1” sticking out at the top. (This will help with bulk when top stitching)
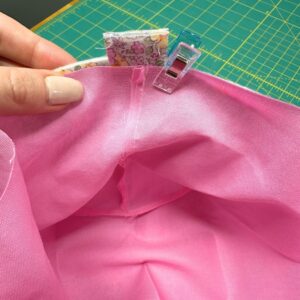
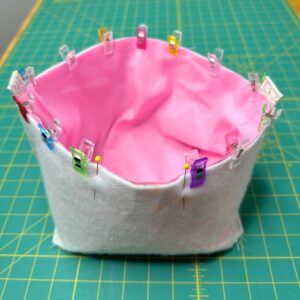
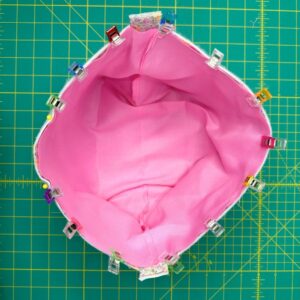
- Place the lining inside the basket, right sides facing.
- Pin or clip around the top edge.


- Sew around the edge, leaving a 3” opening.
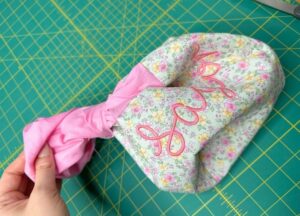
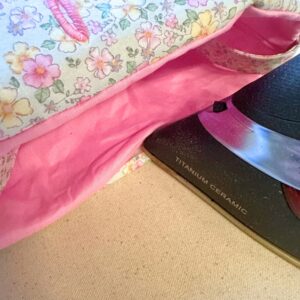
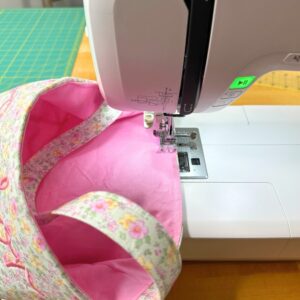
- Turn the basket right-side out through the opening.
- Press and topstitch around the top edge to close the opening and finish the basket.
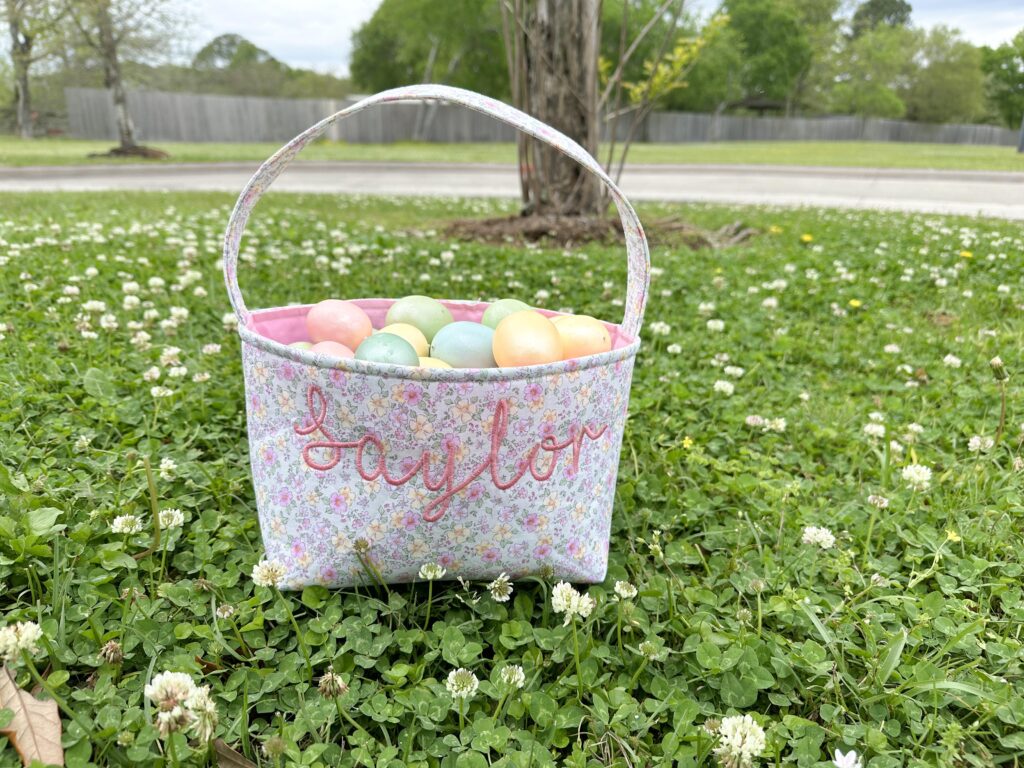
Enjoy Your Personalized Easter Basket!
With your NECCHI C2000 embroidery and sewing machine, you’ve created an adorable, customized fabric Easter basket perfect for filling with treats, gifts, or even sewing supplies!
Share Your Basket with Us & Follow for More Sewing Inspiration!

#Necchisewing | @necchi.us
Why Choose the NECCHI C2000?
✔️
Embroidery & Sewing in One Machine
Perfect for both beginners and experienced sewists!
✔️
Wi-Fi & USB File Transfers
Easily import designs from ArtistTool Kit with the Wi-Fi feature or from your favorite embroidery software using the USB connection.
✔️
Run Multiple Embroidery File Types
ZHS, ZHX, DST, HUS, JEF, EXP, PES, PEC, PCS, SEW, VIP, VP3, and XXX
✔️
Large Embroidery Hoop
Three included hoop sizes!
50mm x 70mm | 120mm x 180mm | 160mm x 260mm
✔️
Advanced Placement Tools
Adjust, rotate, and preview embroidery for perfect results.
✔️
Built-In Thread Color Library
Customize your designs with Pantone-matched colors or select your preferred thread brand color library.
Ready to start your next embroidery project? Check out the NECCHI C2000 today!
